How to weave double width
All you need is 2 reeds of the same size (dent) and 2 pick up sticks
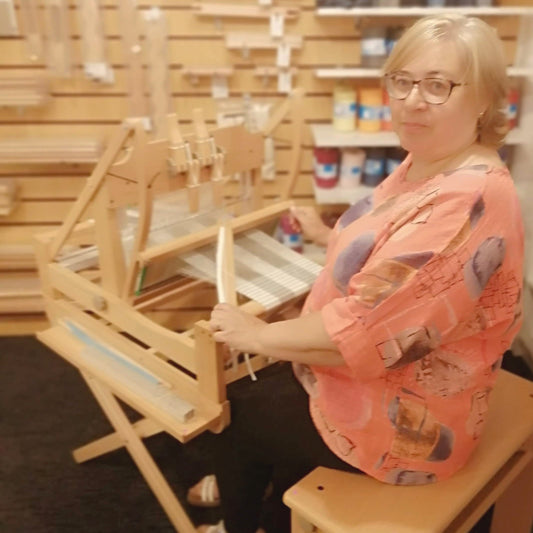
There is no need to feel restricted to only weaving scarves on a narrow loom. It is quite possible, and fairly straightforward, to weave a piece of fabric wider than the width of your loom. Essentially you are weaving two layers - one above the other - which are joined at one side and open at the other. The side where the two layers join will be the middle of your fabric, often referred to as the fold. You’ll need two reeds of the same size(dent) and two pick up sticks.
Warping:
First of all, since you are weaving two layers, you will need to warp for both layers at the same time. I suggest that you use two different colours for the two different layers, at least the first time so that you can identify top and bottom layers easily. I’ll call these light and dark for ease. The first part of the warping is just like the start of every project you’ve done with one reed, except that there will be four ends (a loop of the light yarn and a loop of the dark yarn) through each slot of one reed. Centre your warp as usual but you’ll need to leave at least 1 empty slot to the left of the reed. Cut the ends at the warping peg and wind on to the warp beam.
Threading:
The first part of the threading is straightforward. Working from left to right, take one end of the top layer (the light yarn) out of the slot and place it in the hole to the right. You will now have 3 ends (one light and two dark) in the slots and one (light) in the hole. This is the back reed threaded.

You now need to thread the second (front) reed/heddle. Working right to left, take the light thread from the hole in the back reed and place it in the slot to the right in the front reed. Next, take the 3 ends from the slot in the back reed and thread them in turn in the front reed thus
- One dark thread to the same slot as the one just threaded (this slot will now have two ends, one dark and one light)
- One dark thread to the hole to the left (this will be the bottom layer)
- One light thread to the next slot to the left
Continue in this way across the front reed: the light thread from the hole in the back reed goes through the slot to the right in the front reed (the same slot as the light thread as c. above); one dark thread goes through the same slot; one dark thread goes through the next hole and the light thread goes through the slot to the left of this.
Insert Pick Up sticks:
Once you have threaded the reeds and tied onto the front stick, you need to establish each shed for each layer. We do this by inserting pick up sticks.
Insert Stick A - Put both heddles in the down position and pick up all the top layer (light coloured yarn) threads behind the back reed.

Insert Stick B - Put both heddles in the up position. Slide Stick A forward to just behind the back reed. Insert pick up stick B into the shed that is formed at the bottom behind the reeds.

Weaving
The weaving follows a “C” shape - you weave one pick of the bottom layer, followed by two picks of the top layer and then the second pick of the bottom layer. These directions will give you a fold or join on the left hand side and an open side on the right.
- Both heddles in neutral position. Bring Stick B forward and turn it on it’s edge. Insert shuttle from right to left. (bottom layer)
- Put heddle 2 (the back heddle/reed) in the Up position. Push Stick B to the back. Insert shuttle from left to right (top layer)
- Put both heddles in neutral position Bring Stick A forward and turn it on it’s edge. Insert shuttle from right to left (top layer)
- Put heddle 1 (the front heddle/reed) in the Down position. Push Stick A to the back. Insert shuttle from left to right. (bottom layer)

Repeat this sequence. You may like to weave a large portion in one colour before changing to the other colour for a chequerboard effect.
NB - It is really difficult (almost impossible!) to hem stitch the bottom layer while on the loom so instead I suggest that you weave an inch or so using waste yarn at each end. Once the fabric is off the loom, either remove the waste yarn and tie knots to secure the weft or sew, by hand or machine, to secure the weft and then remove the waster yarn
Give it a go!
It’s really not as complicated as it sounds but if you are still a bit unsure, why don’t you book a 90 minutes session with me and I’ll take you through each of these stages step by step.


